Do you know what it means to Sharpen Pictures?
This article is here to help the untrained eye as well as seasoned photographers. Being able to hand sharpen all images is just another reason I enjoy being a full service photographer. When clients hire me they are not left feeling overwhelmed as they try to navigate the printing and ordering of their image. I hand edit each image and “sharpen” based on the printed medium of where the image will be hung and what format it is going to be printed on (i.e. canvas vs album vs prints)
Below you will see one image sharpened based on different settings as the printing medium as well as the viewing platform will be considered when making adjustments. You can also see as the image is sharpened more the amount of banding shows on the corners of the image. Do you wonder what banding is? Banding in simple terms are those colored line around the outer corners of the bottom images caused by the compressed. While resizing and sharpening the image is compressed to save space by limiting the number of colors used. While compression is a common cause of banding, it’s important to remember that all digital images share this property of stepping harshly from one color to the next. Each pixel is its own little square, not blending with any pixels around it. Fortunately pixels are much too small for our eyes to detect that stepping. It’s only when compressors force similar areas of color into much larger groups that we pick up on the changes.
Oversharpening an image can make it seem “crispy” or “crunchy”. Often unexperienced photographers over sharpen their images not realizing the downside to the resulting capture. While I stress hard to get sharp images in camera there is no “trick” to sharpen and image that is soft or blurry to start. As part my my culling process before I start editing and narrowing the gallery I will zoom into each image and ensure the focus is perfect. These are the results of my test sharpening, see for yourself what your eye will be attracted too:
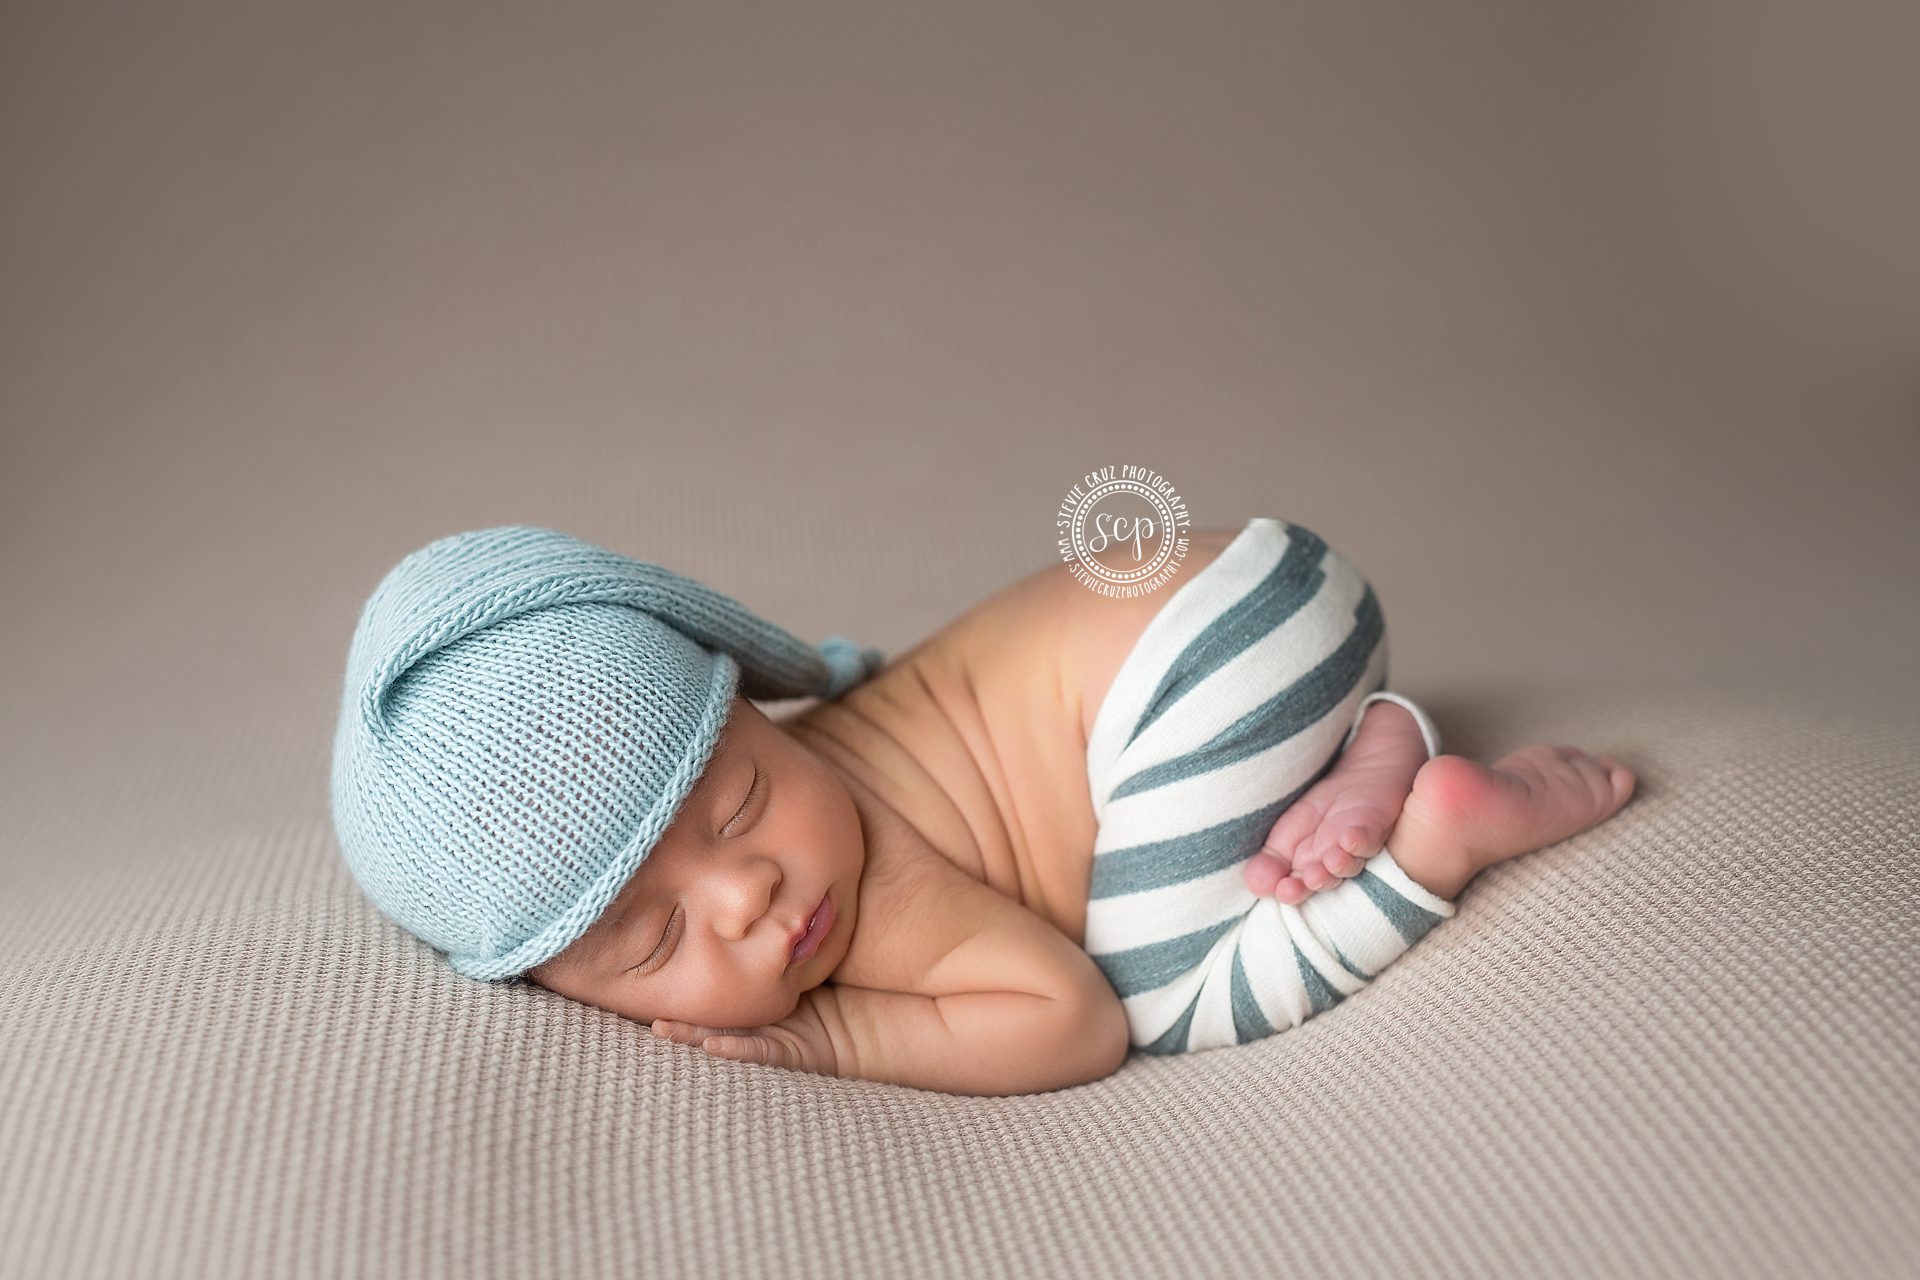
 Initial Image resized in Photoshop only
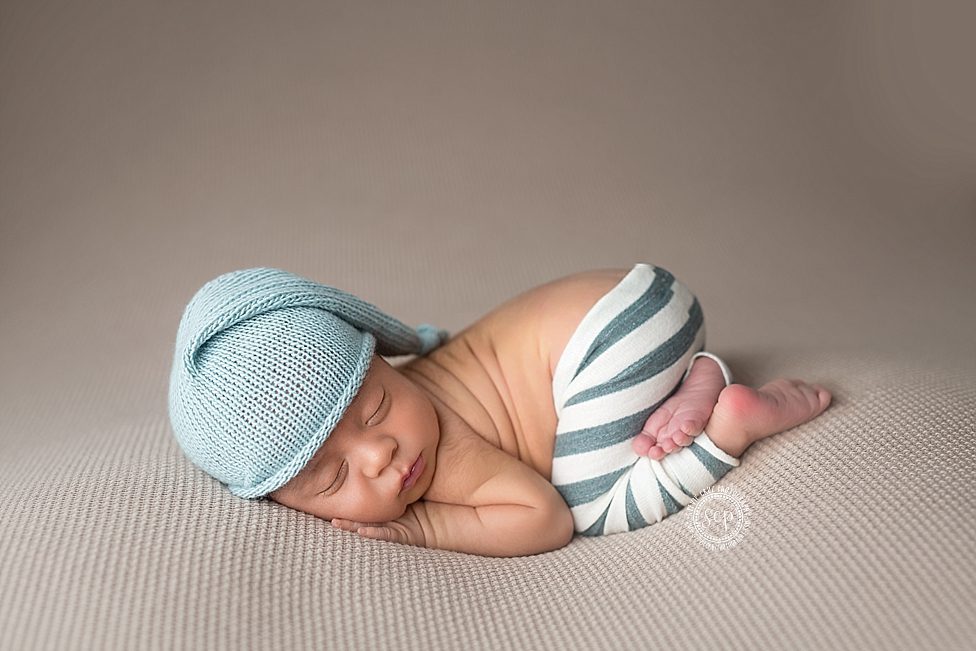
 Initial Image resized and logo added in Blogstomp with no added sharpening

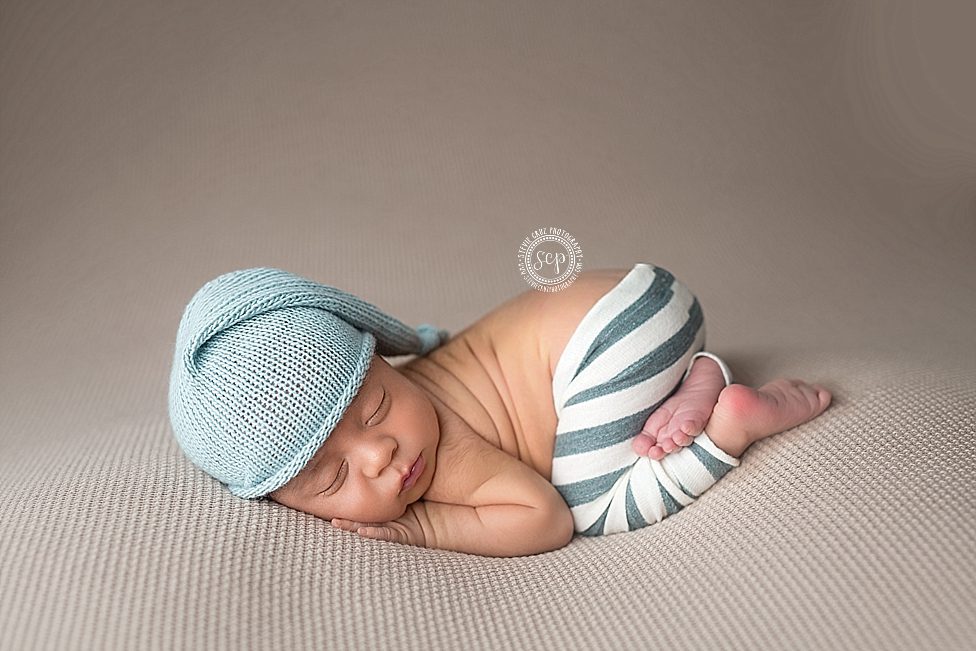
Initial Image resized and logo added in Blogstomp with tiny amount of added sharpening
 Initial Image resized and logo added in Blogstomp with a smidge of added sharpening
Initial Image resized and logo added in Blogstomp with 50% added sharpening
Initial Image resized and logo added in Blogstomp with 70% added sharpening

Initial Image resized and logo added in Blogstomp with 100% added sharpening